 |
| Routing out the old caulk |
 |
| After sanding edges, acetone readies slots for caulking |
|
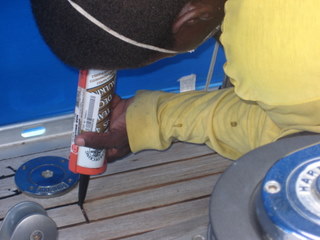
| Applying the caulk (without creating voids) requires a sure hand |
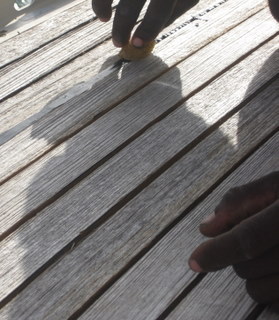 |
| Dampened Irish potato smoothes surface |
|
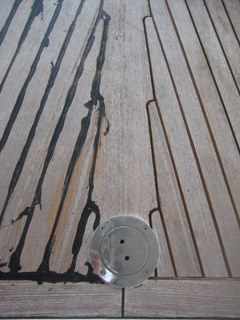
| At l eft: caulk applied; at right: slots ready for caulk |

|
| Gingerly sanding excess caulk with 40 grit |

|
| Finish sanding deck with orbital sander |
|
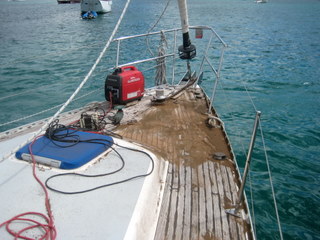
| Immense mess on foredeck |

|
| Finished foredeck |
|
After 15 years, the deck of Queen Emma needed to be recaulked and smoothed. The Oyster 45 does not have the teak boards screwed into the deck but rather glued onto the top. This means the job is primarily a cosmetic one - not done to prevent leaks. It also resulted in a much improved feel when walking forward on the deck. Formerly, the caulk was standing very high above the current level of the teak which loses one or two millimeters per year and was "rolling" beneath our feet. This causes the caulk to pull out of the grooves and is uncomfortable to walk on. Nolan of Carriacou had examined the deck last year and declared it perfectly salvagable. We returned this year to get the job done.
Steps to a refinished deck:
- Clear the decks for action
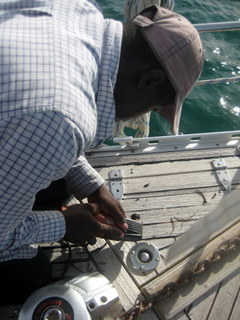
- Remove caulk with Fein tool and 4mm blade (width of old caulk)
- Where required, route the slot to a depth of 4mm as part of previous.
- Hand sand vertical edges of slots with stiff, coarse sandpaper wrapped around sanding edge to clear of caulk and straighten edges.
- Sweep and vacumn all dust from deck
- Clean and dewater slots with Acetone
- Apply caulk (Teak Deck 4400) - very carefully to fill slots without voids
- Smooth top of caulk with a moistened sliver of potato.
- Sand off excess caulk with rotary sander with coarse paper. Caution: this is done to save time and your deck could easily be damaged by a small slip
- Sand surface and sanding marks (from previous step) to a finish consistancy with orbital sander
Remarks
This job is huge and messy. It should be avoided by shaving down protruding caulk with a very sharp chisel as part of deck maintenance and by not scrubbing your deck. Never scrub or soap your deck. Make sure that it gets regularly wetted with sea water.
The job is done in sections so that each step could be completed in a day. Nolan works very, very hard and is not phased by the heat and he will do sections as large as 15' by 3' and still get it done. If you try this yourself, you will want to do much smaller sections at a time. Each step does not look very difficult but the results show the effects of years of practice. The lines of caulk are smooth and straight and Nolan was even able to erase the wobbly effects of prior amatuer attempts at repair.
What you will need:
- Fein tool a blade with a width slightly narrower than existing caulk
- Teak Deck Caulk - a lot! We used over 20 tubes.
- Vacumn to remove dust
- rotary sander for coarse sanding
- orbital sander for finer work
- generator or other source of AC power for all of above.
- Sanding tool: long, stiff piece of material which you wrap sand paper around to help hold crisp edges
- Acetone
- Coarse sandpaper 50#
|
|